What can you do with a few champagne corks, upcycled pallet timber, empty jars, a few screws and a bit of paint, when your stuck in the house on a miserable rainy day? You can do an awesome Towel Hanger for your bathroom door and a Decorative Piece with Plants for the window sill 🙂
I reckon these DIY jobs can be easily done in around 30 minutes- well, if you have the time to do it all in one go. As for myself I have a little baby, so I had to do it bit by bit in between baby’s naps, feeds and play times 🙂
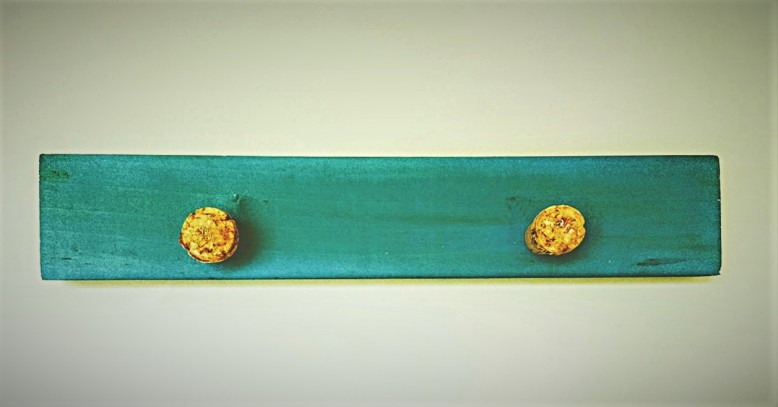
Bathroom Towel Hanger:
This was my first ever attempt to make a hanger by myself. It was so easy to make… and I’m so proud of it:)

What you need:
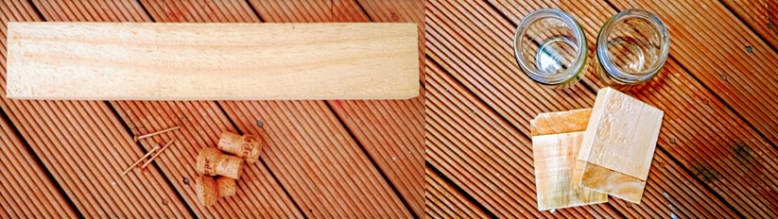
A piece of timber; Corks; Nails
Sand paper; Paint; Drill
Recipe:
Cut a desired size timber, sand it down and clean.
Pick a color you like and paint. I used a mix of green, blue and baby blue (tester pots) and I used an old kitchen sponge to paint because I couldn’t find any paint brush.
I ended up using only 2 corks for this hanger, they are attached with a screw each.
I had 2 holes on the door already so I drilled holes in the hanger in the same place and attached it with screws.
To cover screw heads visible on the hanger I used paint, and to cover screws on the cork I glued a bit of cork onto it.
This all can potentially take no more than 30 minutes:)
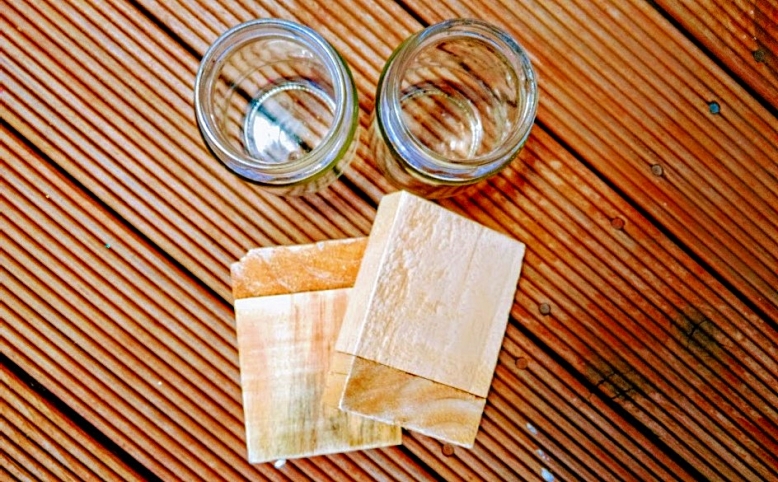
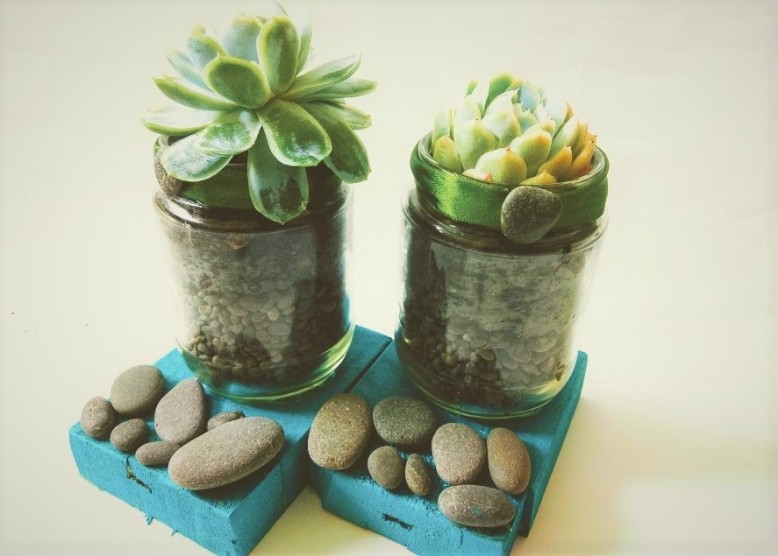
Decorative Piece with Succulents:
I wasn’t sure how to call it really, as it was a completely random thing I did. After cutting out a piece of timber for my hanger I was left with 2 small wood pieces, I also had some paint left in a bowl that I didn’t want to waste. So, since I was in my creative mood I looked around the house and put few things on the table…cobbled stones from Napier, jars, some green fabric and …that is how I came up with this idea:)
What you need:
2 pieces of wood; 2 jars; stones; piece of fabric; soil and 2 small succulents
Sand paper; paint; glue gun
Recipe:
Sand down and clean both pieces of timber.
Paint both pieces and let them dry
Fill 2 jars with 50/50 stones and soil and put succulents in.
Glue both jars onto the timber using a glue gun.
At this stage I decided to add stones to cover the line when the timber is joined on both pieces. So, using a glue gun I attached few.
I also glued the green fabric around the top rim of each jar and added a decoration stone to finish.
This all can potentially take no more than 30 minutes:)
I know I could have gone to the local DIY and bought something similar and just be done with it, but the beauty of making things yourself is that every time you look at it you have a sense of pride that you made it yourself and you are the only person in the world that has it 🙂