Raw Black&White Sweet Snack

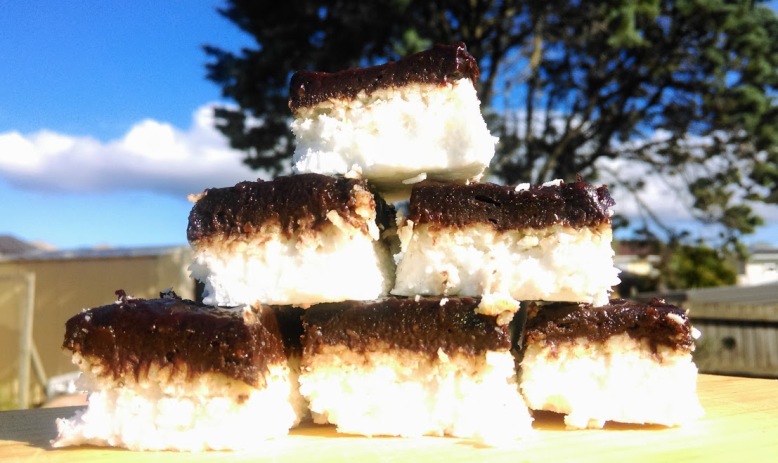
imag0236Don’t we all know the feeling when you want something sugary, something you can have with your coffee or in between… you go to the kitchen and start checking every cupboard in a search of something sweet and tasty… And don’t we all know the feeling when you realize there is nothing there?

If you know what I’m talking about, this recipe is for you!

There are no crazy expensive ingredients here. Most are cheap and easily available to make sure that everyone can afford it (including me:)) In addition, recipe is simple and easy to make.

This approach I try to follow in all my recipes. So if you like this one, you might want to check out the Sunflower Seed Nut Butter recipe and a 5 Step Vegan ‘Snickers’ Cake.

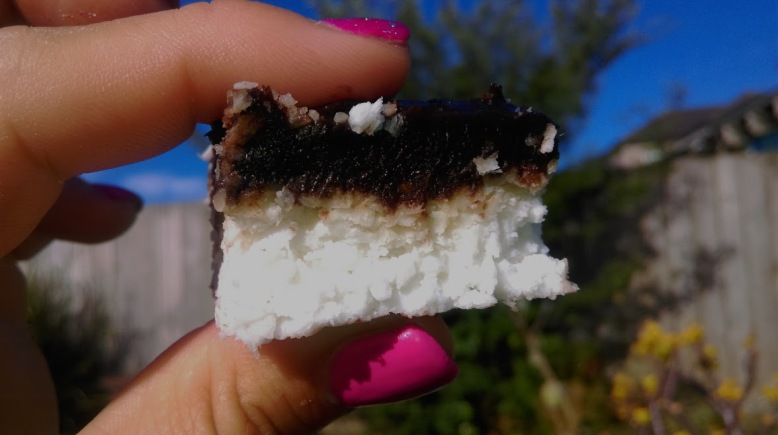
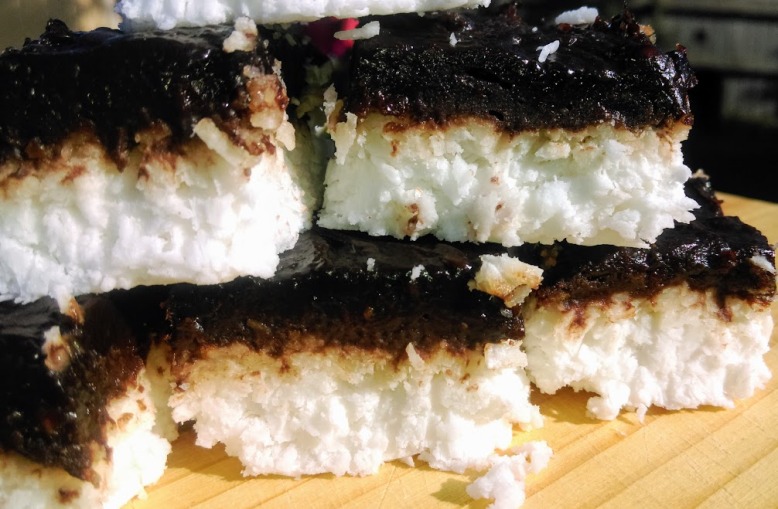
White Layer:

  • 3 cups of desiccated coconut
  • 1 tin of coconut cream
  • 1/2 cup of coconut oil (make sure its in a liquid state)

Mix all the ingredients very fast using a food processor, a spoon or just your hands. Because desiccated coconut will immediately start to soak up the moisture you need to put all that into a dish you want to use for it and press the coconut mixture down as much as you can to remove all the air from it. It takes no more than 5 minutes to prepare it. Once you finish stick it in the fridge and move on to the white layer.

Black Layer:

  • 4 cups of soaked dates (pour hot water over them and leave for 5 minutes)
  • 3/4 cup of coconut oil (make sure its in a liquid state)
  • 1/2 cocoa powder (can be less if you want)
  • pinch of salt (if you want to)

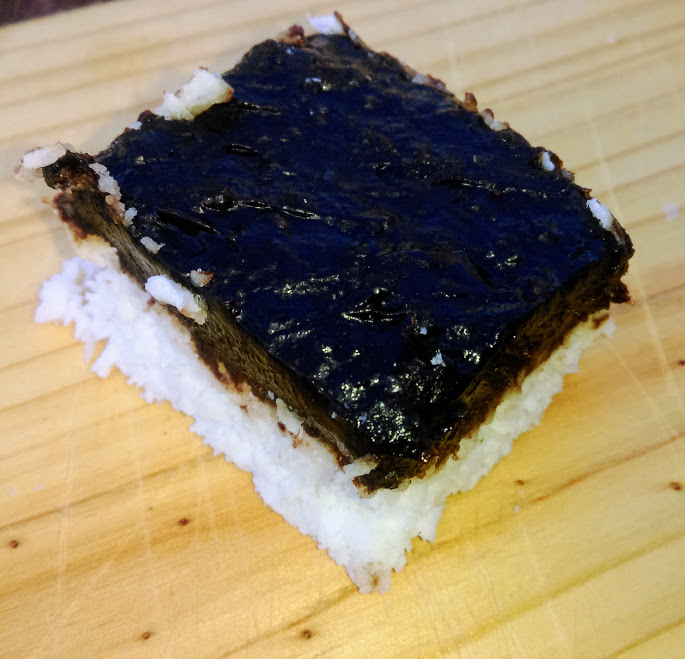
This part is as fast as the previous one, but now you do need to use a food processor or a blender- I don’t have a food processor so I always use a blender, its just harder to clean it afterward. Put drained dates, liquid coconut, cocoa powder and optional salt to a food processor, mix it until smooth. Put the mixture over your coconut mixture and leave it in the fridge.

The hardest part of this recipe is that for best result you should leave it in the fridge for few hours before you start eating it… You than can cut it to a desired shape and leave

Enjoy a fast, simple, healthy, affordable, homemade, sweet snack πŸ™‚

coconut-date-cubeimag0238imag0239

Pumpkin seed ‘Tahini’ recipe


pumpkin-seed-tahini-jar

Ready to eat in less than 30 minutes…yummy:)

This is another of my fast; simple; cheap; healthy and most importantly delicious recipes!

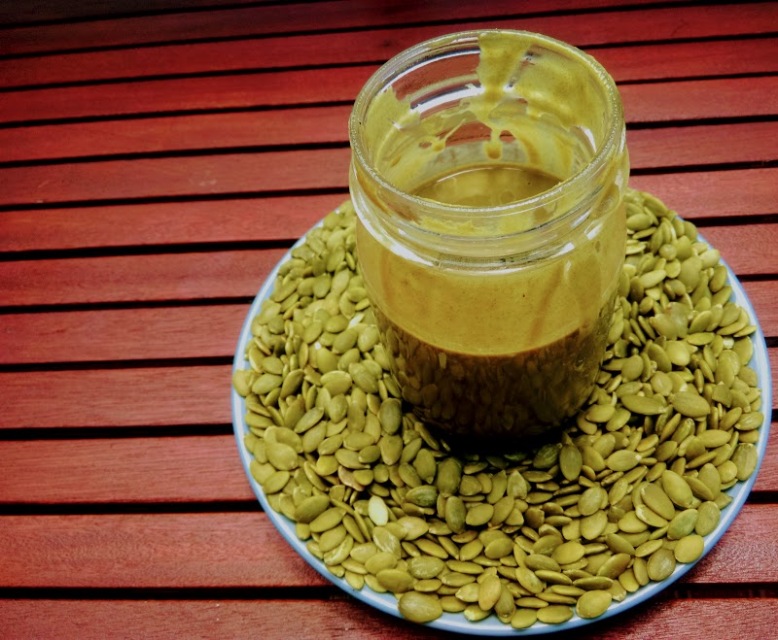
Pumpkin seed tahini is another product, same as sunflower seed butter– that is very expensive in shops but can be easily made at home:) I have walked pass it many times, curious, tempted but totally put off by its price.

So, the day has come that I finally decided to try making it myself. It took me less than 30 minutes, and the result was absolutely mouthwatering:)

Recipe:

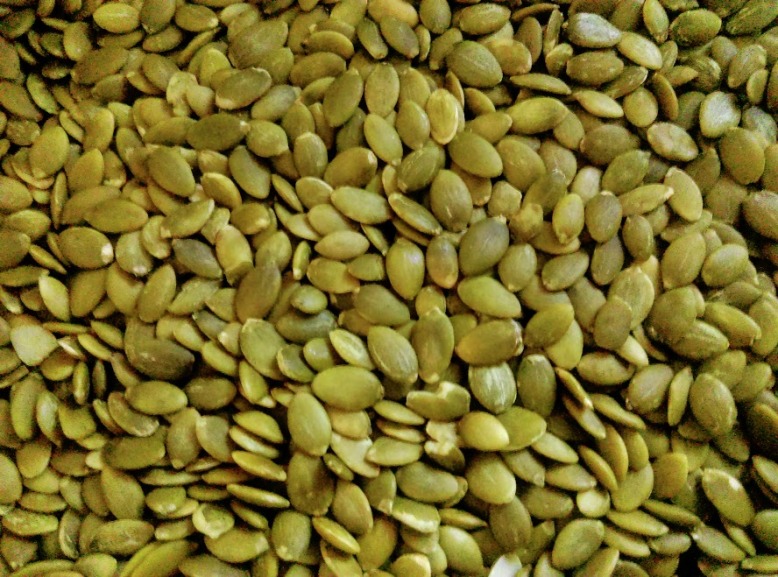
  • 3 cups of raw pumpkin seeds (amount depends on how much β€˜tahini’ butter you want to make)
  • 1/4 cup of oil ( canola, olive, rice bran, linseed or any other oil you want to use- this amount is for a runny ‘tahini’, if you like it less runny reduce the amount of oil)
  • Pinch of salt (sea salt, Himalayan salt or normal salt- this one is optional as well)

Steps:

  1. Roast pumpkin seeds on a frying pan and let them cool down. Make sure you stand over it and mix it constantly to avoid burning the seeds.
  2. Add salt.
  3. Put roasted pumpkin seeds in your food processor, add desired amount of oil and mix until you get buttery texture.
  4. Pour it into a container and enjoy πŸ™‚
    pumpkinseed

    Roasting pumpkin seeds


Before and After: DIY Upcycled Bathroom Decorations.

both raw projects.jpg

What can you do with a few champagne corks, upcycled pallet timber, empty jars, a few screws and a bit of paint, when your stuck in the house on a miserable rainy day? You can do an awesome Towel Hanger for your bathroom door and a Decorative Piece with Plants for the window sill πŸ™‚

I reckon these DIY jobs can be easily done in around 30 minutes- well, if you have the time to do it all in one go. As for myself I have a little baby, so I had to do it bit by bit in between baby’s naps, feeds and play times πŸ™‚

Bathroom Towel Hanger:

This was my first ever attempt to make a hanger by myself. It was so easy to make… and I’m so proud of it:)

door-hanger-before

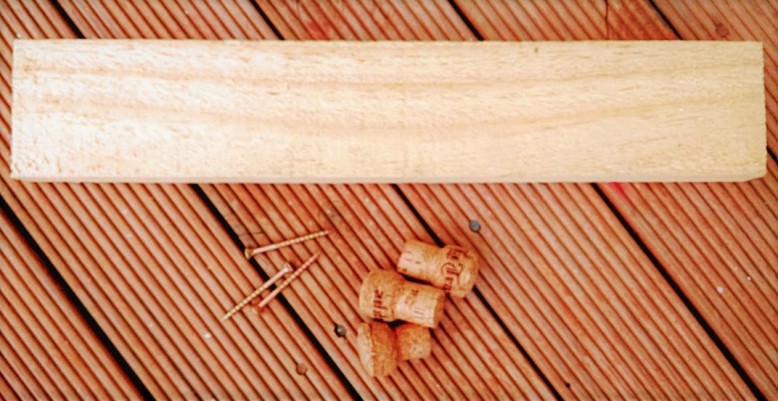
What you need:

A piece of timber; Corks; Nails

Sand paper; Paint; Drill

Recipe:

Cut a desired size timber, sand it down and clean.

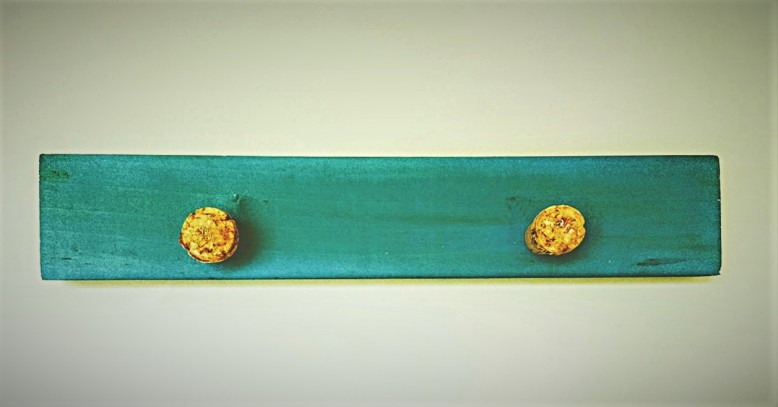
Pick a color you like and paint. I used a mix of green, blue and baby blue (tester pots) and I used an old kitchen sponge to paint because I couldn’t find any paint brush.

I ended up using only 2 corks for this hanger, they are attached with a screw each.

I had 2 holes on the door already so I drilled holes in the hanger in the same place and attached it with screws.

To cover screw heads visible on the hanger I used paint, and to cover screws on the cork I glued a bit of cork onto it.

This all can potentially take no more than 30 minutes:)

door-hanger-after

Decorative Piece with Succulents:

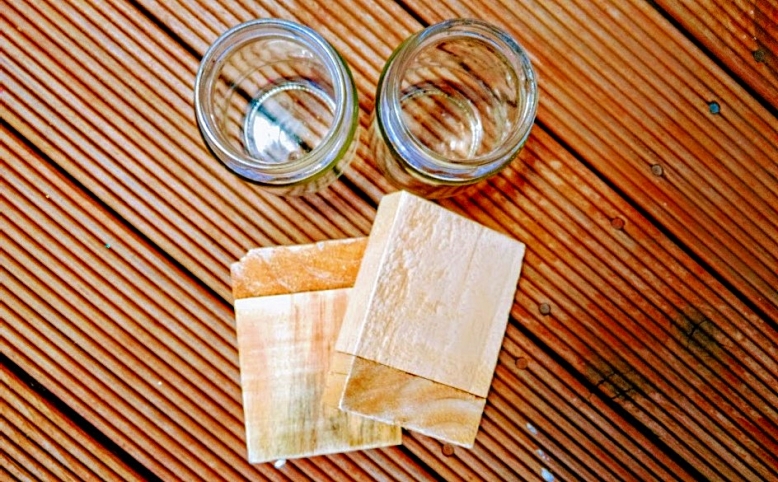
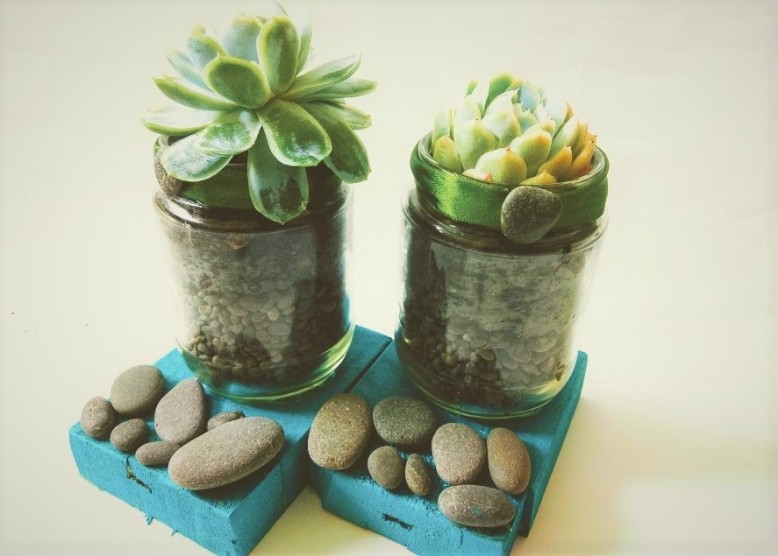
I wasn’t sure how to call it really, as it was a completely random thing I did. After cutting out a piece of timber for my hanger I was left with 2 small wood pieces, I also had some paint left in a bowl that I didn’t want to waste. So, since I was in my creative mood I looked around the house and put few things on the table…cobbled stones from Napier, jars, some green fabric and …that is how I came up with this idea:)

jars-before

What you need:

2 pieces of wood; 2 jars; stones; piece of fabric; soil and 2 small succulents

Sand paper; paint; glue gun

Recipe:

Sand down and clean both pieces of timber.jars in the middle.jpg

Paint both pieces and let them dry

Fill 2 jars with 50/50 stones and soil and put succulents in.

Glue both jars onto the timber using a glue gun.

At this stage I decided to add stones to cover the line when the timber is joined on both pieces. So, usingΒ  a glue gun I attached few.

I also glued the green fabric around the top rim of each jar and added a decoration stone to finish.

This all can potentially take no more than 30 minutes:)

jarrs-after

I know I could have gone to the local DIY and bought something similar and just be done with it, but the beauty of making things yourself is that every time you look at it you have a sense of pride that you made it yourself and you are the only person in the world that has it πŸ™‚

Vegetable Muss: A Baby Food Recipe

blog-4

Check this out, awesomely simple, packed with vitamins, easy to prepare baby food recipe. 4 Steps: Peel it; Steam or Boil it; Blend it; Freeze it and you are done πŸ™‚

There you go, my second attempt to make food for my little T. We started giving him some food a few weeks ago and quite quickly I realized that boiling 1/3 of a carrot with 1/6 of broccoli every time he wants to eat won’t work. It takes so much time and effort for a tiny one-off meal. So, to make my life simpler I decided to act:)

Please remember that to make baby food you DO NOT have to buy special containers for storing homemade baby food, as they are ridiculously expensive! Instead, I used a variety of silicone trays I had at home. Some were for ice cubes, some for small cup cakes. Don’t worry if you don’t have them. Even the ice cube tray will do- we all have it in our freezer or a silicone muffin tray- just don’t fill it completely.

Why you should do it yourself instead of buying?

When done in bulk and frozen, it takes little time to prepare and its so handy.

It cost very little in comparison to store bought ready made baby food.

Its healthier!

You do not create any rubbish (many baby food packaging is non recyclable)

Recipe:

  • 2 Organic Beetroot
  • 3 Organic Kumara (Sweet Potato)
  • 2 Organic Carrots
  • 1 Cup Organic Lentils
  1. Peel all the vegetables.
  2. Steam Beetroot, Kumara and Carrots together.
  3. Boil lentils without any spices or salt
  4. Blend veggies together until smooth
  5. Wash your blender and process lentils until smooth
  6. Cool both mixtures down, put the paste in silicon forms and freeze overnight.

Next take them out of the form and put into a plastic bag and keep in a freezer:)

5 Step Vegan ‘Snickers’ Cake

Full blog cake.jpg

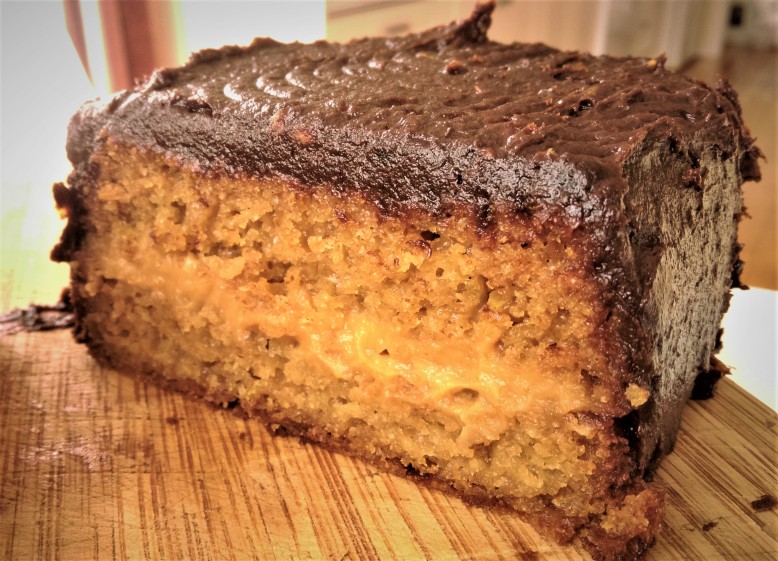
You are literally 5 steps away to an amazingly tasty, spongy, sweet&salty masterpiece. 60 minutes from the thought ‘I want to try this recipe’ to ‘Omg its so delicious’ πŸ™‚Β 

No complicated ingredients, no complicated instructions.

Flexible recipe that is open to adjustments, all to suit your personal preferences πŸ™‚

Cake Recipe

Step 1: Make a Wet Part

2 Β½ Cup of Non-Dairy Milk (soya; almond; rice; oat or any other)

ΒΎ Cup of Oil (canola; rice bran; sunflower or any other)

2 Tbsp. Apple Cider Vinegar

Juice of 1 lemon

Vanilla extract

Step 2: Make a Dry Part

3 Cups of All-Purpose Flour

1 Cup of Sugar (white, brown, demerara or coconut)

2 Tsp Baking Soda

2 Tsp Baking Powder

Pinch of salt

Step 3: Mix, Pour, Bake

Combine wet with dry using a spoon (doesn’t have to be a wooden spoon, and you don’t have to turn right only:))

Pour into a baking form.

Bake in 175 Celsius for approximately 30 minutes (that depends on your oven) J

To remember:

Grease and flour your baking form before you pour the cake mixture.

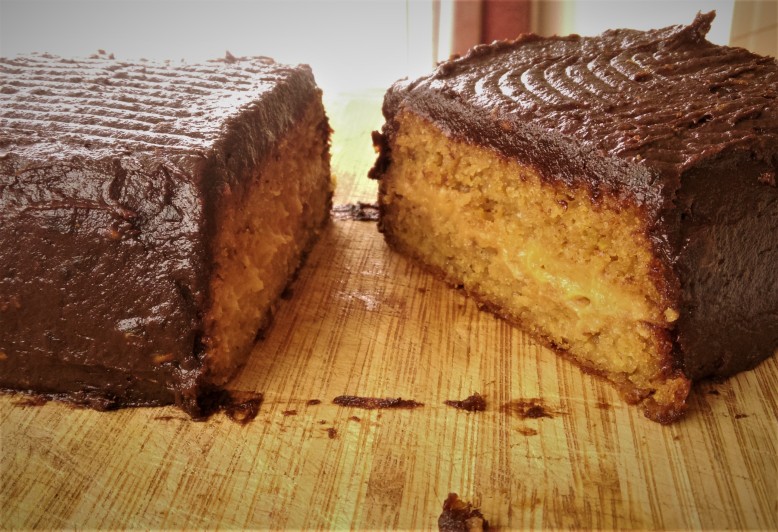
Choose a correct size baking form as you will be cutting the sponge horizontally to put the cream in

Step 4: Peanut Cream

Β½ Cup of Peanut Butter (Almond butter; Cashew Butter, Sunflower Butter)

1-2 Tbsp. of Water (might be less or more depending on the consistency of your nut butter)

Blend it well and spread on the first layer of the cake. Cover with the other half and press gently.

Step 5: Chocolate Icing

2 Cups of Soaked Dates (drain the excess water)

2 Tbsp. of Cocoa Powder

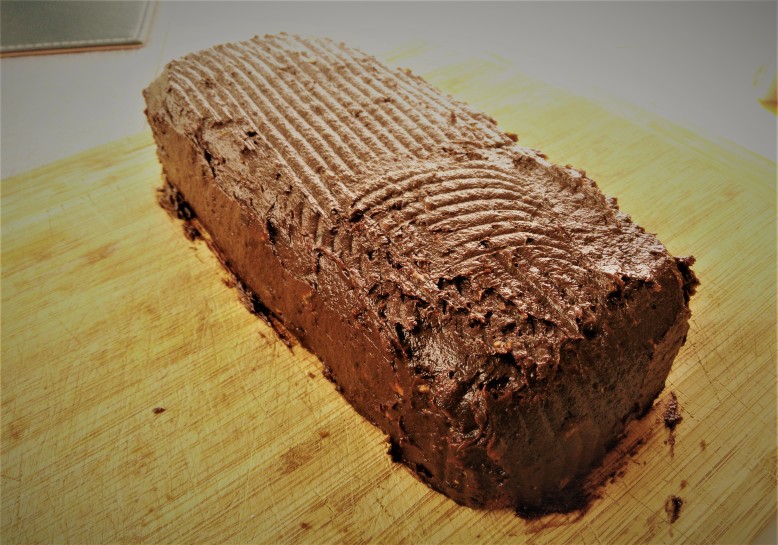
Blend together and cover the cake.

And you are done!!! Enjoy a guilt free vegan snickers cake:)

blog-cake-fullcake-half-both-blog

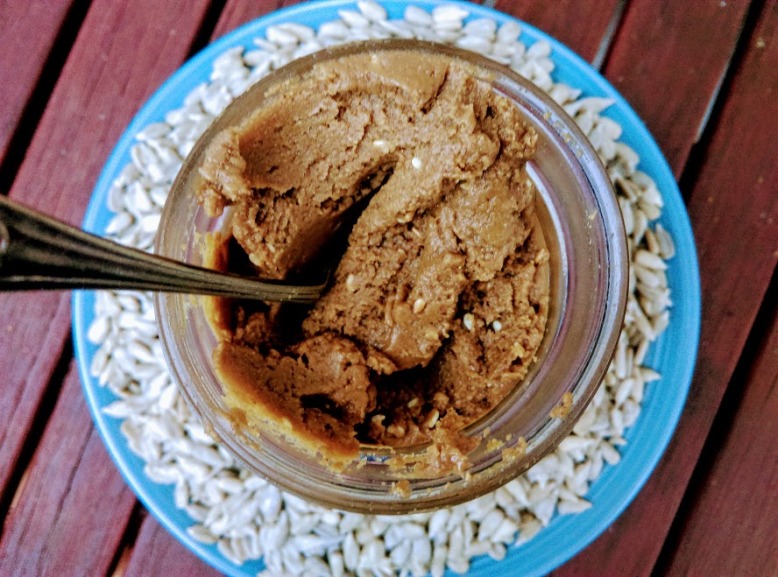
Sunflower seed ‘nut’ butter recipe

unliving-blog-article-nut-butter

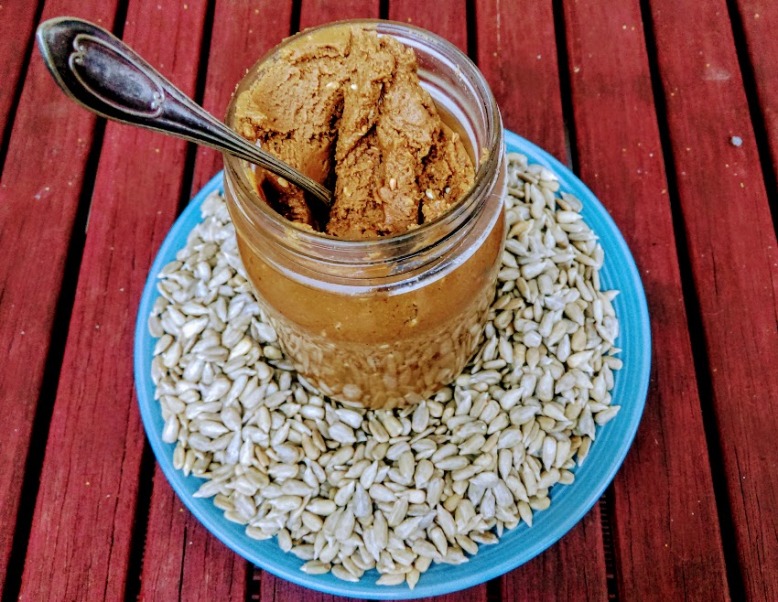
This is my first post in Cooking4Less Category so I’m really excited about it πŸ™‚ A simple recipe for sweet ‘nut’ butter made of Sunflower Seeds.

Its fast; simple; cheap; healthy and most importantly delicious !

In New Zealand you can only get plain sunflower seed butter in health shops and its crazy expensive in comparison to the price of raw sunflower seeds! The good news is that you can make it yourself in less than 30 minutes:) So, read it; make it and tell me what you think about it πŸ™‚

Recipe:

  • 3 cups of raw sunflower seeds (amount depends on how much ‘nut’ butter you want to make)
  • 1/4 cup of sesameΒ  seeds ( you can alter the amount to your liking)
  • 1/4 cup of maple syrup (optional, you can alter the amount depending on how sweet you want it to be, also if you want add honey or rice syrup instead)
  • Pinch of salt (sea salt, Himalayan salt or normal salt- this one is optional as well)

Steps:

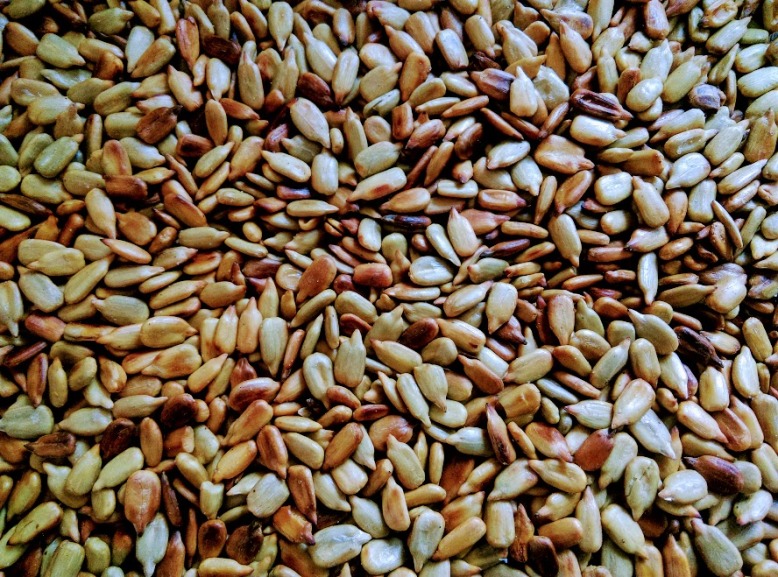
  1. Roast sunflower seeds on a frying pan and let them cool down. Make sure you stand over it and mix it constantly to avoid burning the seeds.
  2. Roast sesame seeds on a frying pan and let them cool down. And again, make sure you stand over it and mix it constantly to avoid burning the seeds.
  3. Put roasted sunflower to your food processor and mix until you get buttery texture.
  4. Put in a bowl and add maple syrup, sesame seeds and salt and mix it all with a spoon.
  5. Enjoy πŸ™‚
roasting-sunflower-unliving

Roasted Sunflower Seeds

ready-butter-unliving

Mmmmmmmmmm…delicious:)